Configure to manage DHCP on Windows 10
Donate Us : paypal.me/MicrosoftLab
Configure to manage DHCP on Windows 10
1. Prepare
- DC1 : Domain Controller
- DC2 : DHCP Server, IP 10.0.0.2
- WIN1091 : Domain Member
- Download file "Remote Server Administration Tools for Windows 10 (WindowsTH-RSAT_WS2016-x64.msu)" (or x86)
2. Step by step : Configure to manage DHCP on WIN1091
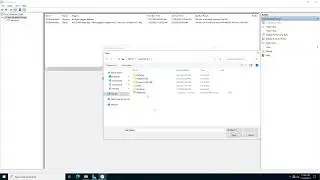
- WIN1091 : Install tool "Remote Server Administration Tools for Windows 10"
+ Double-click WindowsTH-RSAT_WS2016-x64.msu - Yes - I Accept - Restart Now
+ Start - All apps - Windows Administrative Tools - DHCP
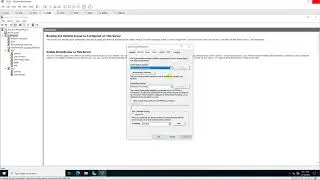
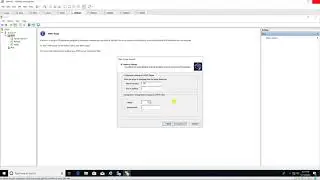
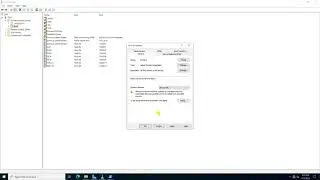
- Right-click DHCP - Add Server... - Choose "This authorized DHCP server:" : dc2.pns.vn - OK
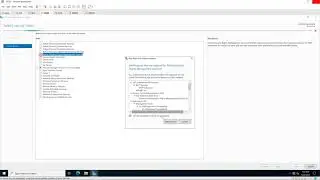
+ Create a new scope named Scope3
Watch video Configure to manage DHCP on Windows 10 online, duration hours minute second in high quality that is uploaded to the channel microsoft lab 21 April 2017. Share the link to the video on social media so that your subscribers and friends will also watch this video. This video clip has been viewed 53,496 times and liked it 59 visitors.


![SUPER JUNIOR 슈퍼주니어 '악몽 (Ticky Tocky)' Color Coded Lyrics [Han/Rom/Eng]](https://images.reviewsvideo.ru/videos/ie3HRcFFKa0)