Premiere Pro: How to Apply & Set Default Transitions
Quick Tip: Default Transitions in Premiere Pro
Adobe Premiere Pro CC
To Apply Transitions:
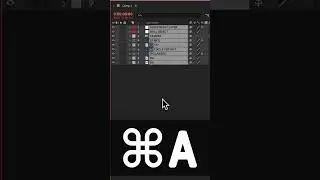
Select Two Clips
Cmd + D (Keyboard Shortcut to Learn!)
Cmd + D applies default transitions between two clips or on a clip by itself
To Delete Transition, Click on it and delete or right click and Clear
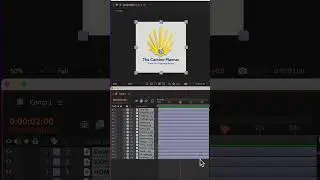
To Change Duration, Click and drag in or out
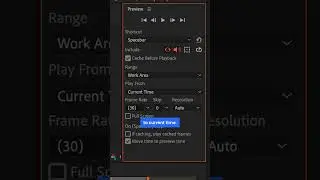
To Change Default Duration:
On Mac: Go to Menu Bar up top
Click Premiere in Menu Bar and
Preferences
Timeline
Change Default Video Transitions
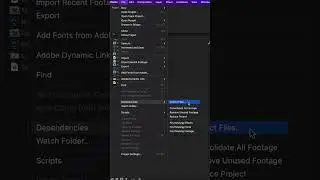
To Change the default transition:
Cross Dissolve is the default (what I use)Go To Effects, right-click on any video transition and Set to Default.
************************
➜All Gear I Use: https://kit.co/mikemurphyco
➜Podcast Gear: http://www.mikemurphy.co/podgear
➜ Get Adobe Creative Cloud:http://mikemurphy.co/adobe
➜Tutorial Software:
Screenflow: http://mikemurphy.co/screenflow
Camtasia: http://mikemurphy.co/camtasia
---------------------------------------------------------------SUBSCRIBE TO MY YOUTUBE CHANNEL:
- http://mikemurphy.co/youtube
VISIT MY WEBSITE:
- http://mikemurphy.co
SUBSCRIBE TO PODCAST
-http://mikemurphy.co/itunes
SOCIAL MEDIA:
- Instagram: / mikeunplugged
- Facebook: http://mikemurphy.co/facebook
- Twitter: / mikeunplugged
--Affiliate Links: --
In order to support my work, I participate in affiliate programs for some of the tools I use and recommend. This simply means I get a commission from the company with no additional cost to you for recommending their products. I will not recommend anything I do not believe in 100%.
Watch video Premiere Pro: How to Apply & Set Default Transitions online, duration hours minute second in high quality that is uploaded to the channel Mike Murphy Co 01 July 2017. Share the link to the video on social media so that your subscribers and friends will also watch this video. This video clip has been viewed 61,839 times and liked it 723 visitors.