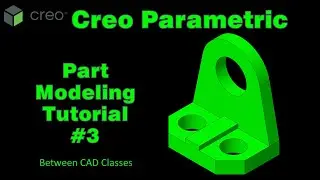
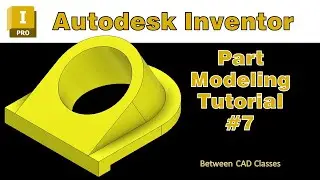
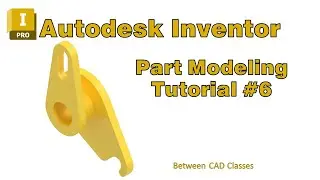
Autodesk Inventor Part Modeling Tutorial #3
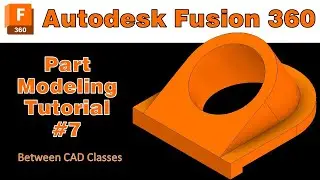
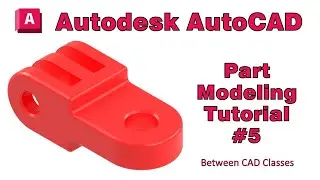
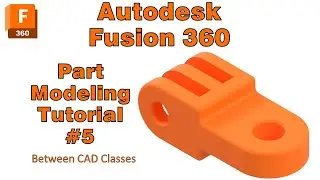
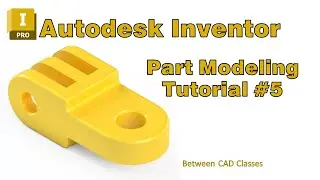
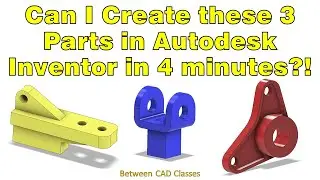
In this video I will take you through each step to create a 3D model of the part shown in Autodesk Inventor.
The following tools are used in this tutorial:
Extrude
Hole
Project Geometry
Tangent constraints
Colinear constraints
Chamfer
Mirror
Each sketch is fully dimensioned and constrained before creating the features.
If you would like to try the exercise yourself, the detail drawing can be found on my website at https://betweencadclasses.wordpress.c...
Feel free to comment with a part that you would like to see me work through.
0:00 Intro
0:13 Selecting the metric part template
0:25 Workflow
0:56 Creating the base feature
2:26 Adding the second extruded feature
4:14 Adding the concentric hole
4:47 Adding one of the holes on the base feature
5:59 Mirroring the hole to the other side
6:48 Adding the chamfer features
7:14 Adding the raised extrusion
Watch video Autodesk Inventor Part Modeling Tutorial #3 online, duration hours minute second in high quality that is uploaded to the channel Between CAD Classes 07 December 2022. Share the link to the video on social media so that your subscribers and friends will also watch this video. This video clip has been viewed 233 times and liked it 6 visitors.