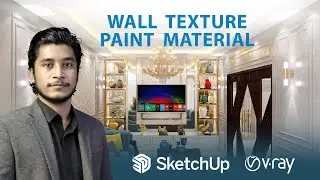
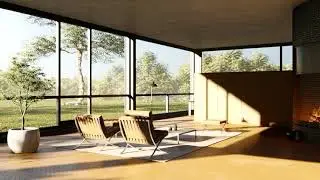
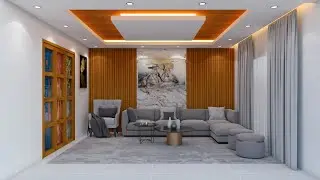
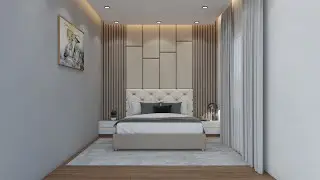
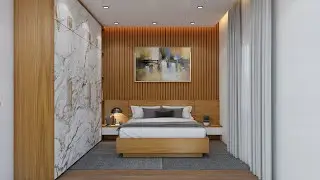
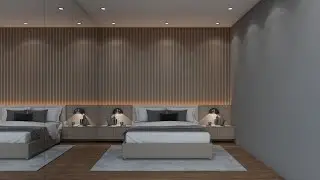
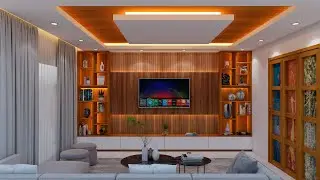
Wall Texture Paint Material V-ray For Sketchup
In this tutorial, we'll explore how to achieve stunning wall texture paint materials using V-Ray for SketchUp. Whether you're an architectural visualization professional or a SketchUp enthusiast looking to enhance your renders, this video will guide you step-by-step through the process.
We'll start by explaining the importance of realistic wall textures in adding depth and visual interest to your 3D scenes. You'll learn how to select the right texture images and properly map them onto your SketchUp models to achieve a lifelike look.
Next, we'll dive into V-Ray's powerful material editor and explore the various parameters and settings necessary to create convincing wall texture paint materials. From adjusting the diffuse color and glossiness to adding subtle imperfections like bumps and scratches, you'll discover the techniques that make your virtual walls feel authentic.
You'll also learn how to utilize V-Ray's advanced features, such as the displacement and bump maps, to add even more detail and depth to your wall textures. We'll demonstrate how to create a variety of popular wall finishes, including smooth painted walls, textured stucco, exposed brick, and weathered concrete.
Throughout the tutorial, we'll provide useful tips and tricks to optimize your render settings for faster and more efficient results. We'll showcase different lighting scenarios to highlight how wall textures interact with natural and artificial lighting, helping you achieve the desired atmosphere in your architectural visualizations.
By the end of this tutorial, you'll have a solid understanding of how to create realistic wall texture paint materials in V-Ray for SketchUp, enabling you to take your renders to the next level. So, grab your SketchUp model and let's get started on transforming your virtual walls into visually captivating surfaces!
Don't forget to like, subscribe, and leave a comment if you found this tutorial helpful. Feel free to ask any questions, and we'll be happy to assist you in your V-Ray for SketchUp journey.
Timestamps:
00:00 - Introduction
01:25 - Importance of realistic wall textures
02:50 - Selecting and mapping texture images
04:30 - Exploring V-Ray's material editor
06:15 - Adjusting diffuse color and glossiness
08:20 - Adding imperfections for authenticity
10:10 - Displacement and bump maps for depth
12:00 - Creating different wall finishes
15:30 - Optimizing render settings
17:40 - Lighting considerations
20:15 - Conclusion
#VrayForSketchUp #WallTexturePaint #SketchUpTutorials
Смотрите видео Wall Texture Paint Material V-ray For Sketchup онлайн, длительностью часов минут секунд в хорошем качестве, которое загружено на канал Saad 12 Май 2023. Делитесь ссылкой на видео в социальных сетях, чтобы ваши подписчики и друзья так же посмотрели это видео. Данный видеоклип посмотрели 916 раз и оно понравилось 24 посетителям.

