Learn How to Use Auto-Animate Feature: Adobe XD (Beginner)
Auto-Animate allows you to easily create prototypes with immersive animated transitions. Simply duplicate an artboard, modify object properties, such as size, position, rotation, and apply an Auto-Animate action to create an animated transition between artboards. To use Auto-Animate, ensure that the objects you are looking to animate have the same layer name between each of the artboards.
HOW DOES AUTO-ANIMATE WORK?
Traditionally, designers used multiple transitions across various artboards to wire their prototype interactions. With Auto-Animate, designers can use XD to create micro-interactions between two artboards by:
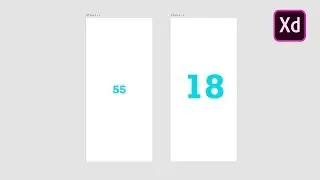
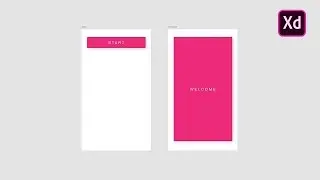
►Duplicating objects between artboards,
►Modifying their properties such as size, position, rotation, and so on. For information on supported properties, see Supported properties for auto-animate.
►Switching to prototype mode,
►Adding Auto-Animate as a new transition, and
►Previewing the prototype in desktop or mobile.
Like using Tap to trigger transitions, you can combine Drag with Auto-Animate to specify micro-interactions across artboards. New objects fade in and deleted objects fade out during a transition that uses Auto-Animate.
SUBSCRIBE ► https://www.youtube.com/timhykes?sub_...
👋 I'm Tim Hykes! Subscribe if you have not!
👍 Thanks for every Like, Share, and Comment!
🔔 Ring the Bell to join the Notification Squad!
Watch video Learn How to Use Auto-Animate Feature: Adobe XD (Beginner) online, duration hours minute second in high quality that is uploaded to the channel Tim Hykes 08 December 2018. Share the link to the video on social media so that your subscribers and friends will also watch this video. This video clip has been viewed 905 times and liked it 15 visitors.