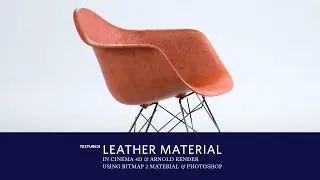
Leather Material Tutorial - Using Cinema 4d, Arnold Render, Bitmap2Material & Photoshop - Texture01
After a couple of larger updates by Arnold Renderer some parts of the tutorial is now old and not up to date. Anders Langlands addon to Arnold is deprecated and not possible to use anymore. But many of the principles is still possible to use, and that’s why I do not remove this tutorial form Youtube. Thank you for your understanding :)
As the title says, in this leather material tutorial I show my main method of creating materials. In Photoshop I make the material base often from an image. Sometimes I find this image on the web or a I take my own picture. It's made into a square and then made seamless for ease of use in 3D. Then processed it in Bitmap2Material or Materialize (only on windows) to create different texture maps. Then mixed together in Arnold Render.
This is the first of the material tutorials, and I hope to make more. If you have a material suggestion, write it in the comments :)
You can visit my site over at http://www.jhaland.com
Cinema 4D https://www.maxon.net/en/
Arnold Render https://www.solidangle.com/
Anders Langlands http://www.anderslanglands.com/alshad...
Bitmap2Material https://www.allegorithmic.com/product...
Materialize https://boundingboxsoftware.com/mater...
Photoshop http://www.adobe.com/
Смотрите видео Leather Material Tutorial - Using Cinema 4d, Arnold Render, Bitmap2Material & Photoshop - Texture01 онлайн, длительностью часов минут секунд в хорошем качестве, которое загружено на канал Jørgen Håland 03 Март 2017. Делитесь ссылкой на видео в социальных сетях, чтобы ваши подписчики и друзья так же посмотрели это видео. Данный видеоклип посмотрели 14,366 раз и оно понравилось 203 посетителям.


![🇯🇵 [Sushi Hoshiyama] 1 MICHELIN starred sushi omakase | Japan – Osaka](https://images.reviewsvideo.ru/videos/Qs2px-tl-d0)