debug selenium test visual studio code
Download this code from https://codegive.com
Debugging Selenium tests in Visual Studio Code (VS Code) can be a crucial skill for identifying and resolving issues in your automated testing scripts. In this tutorial, we'll walk through the steps to set up and debug Selenium tests using Visual Studio Code, along with practical code examples.
Visual Studio Code: Make sure you have VS Code installed on your machine. You can download it from here.
Node.js: Ensure Node.js is installed on your machine, as we'll be using npm to install dependencies. You can download Node.js from here.
Selenium WebDriver: Install the Selenium WebDriver for your preferred browser. For this tutorial, we'll use the ChromeDriver. Download it from here and ensure its location is in your system's PATH.
Open a terminal and create a new directory for your project:
Install the necessary npm packages:
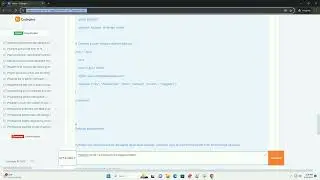
Create a file named test.js and add the following sample Selenium test script:
Create a launch.json file in your project's .vscode folder. Add the following configuration to enable debugging:
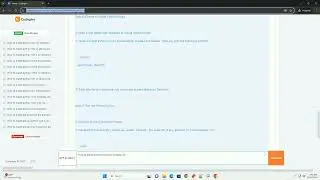
Open your project in VS Code, set breakpoints in your test script (click on the left margin of the editor), and press F5 to start debugging.
As the script runs, VS Code will pause at your breakpoints, allowing you to inspect variables, step through code, and identify issues.
Congratulations! You've set up and debugged a Selenium test using Visual Studio Code. This process helps you efficiently identify and resolve problems in your automated testing scripts.
ChatGPT
Смотрите видео debug selenium test visual studio code онлайн, длительностью часов минут секунд в хорошем качестве, которое загружено на канал CodeMake 07 Январь 2024. Делитесь ссылкой на видео в социальных сетях, чтобы ваши подписчики и друзья так же посмотрели это видео. Данный видеоклип посмотрели 230 раз и оно понравилось 0 посетителям.