Smooth Flow Mastering Keyframes in DaVinci Resolve
Welcome to our channel! In this quick DaVinci Resolve tutorial, we'll show you how to realistic Smooth Flow Mastering Keyframes in clips using this powerful video editing software. With just 3 easy steps, you'll become a master at Keyframes in no time! #Shorts
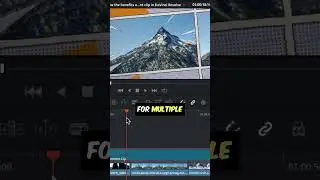
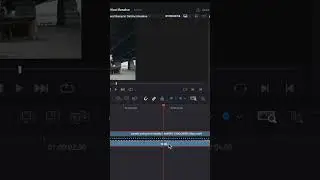
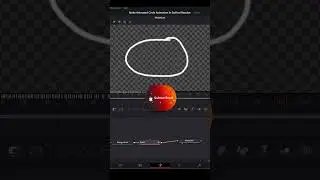
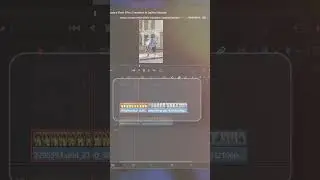
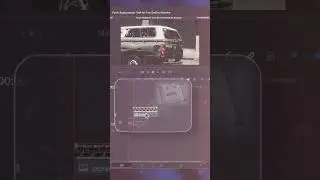
Step 1: Import your footage into DaVinci Resolve, whether it's a video clip, a sequence, or a portion of your project. Ensure you have it ready for editing.
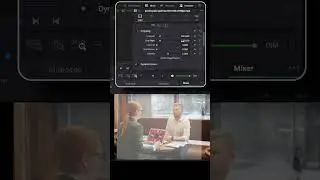
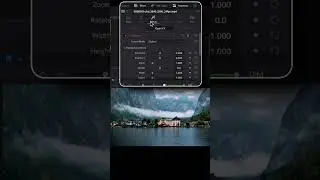
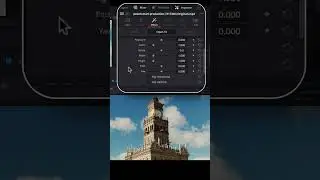
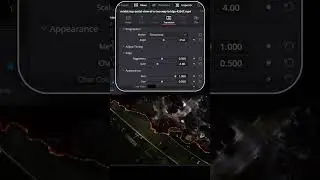
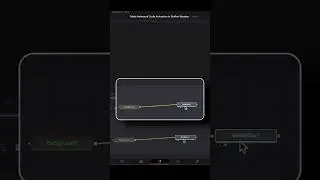
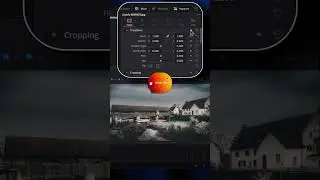
Step 2: On the right, navigate to the inspector panel. Ease In creates a gradual acceleration of the parameter value as it approaches the keyframe, while Ease Out creates a gradual deceleration of the parameter value as it moves away from the keyframe.
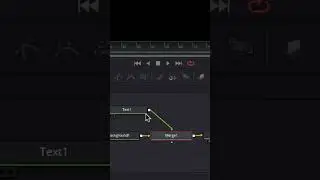
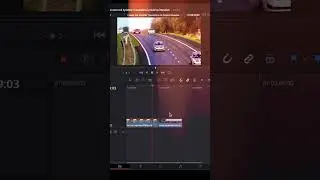
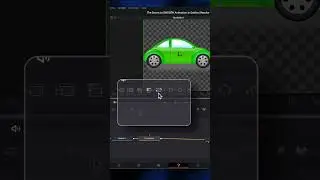
Step 3: Users can right-click on the red keyframe marker to the right of Position X and Y in the inspector in Edit and choose "Ease In" or "Ease Out" as appropriate.
That's it! With just these three simple steps, you'll be able to effortlessly Add Keyframe Animation Effects in DaVinci Resolve and enhance your video editing projects, add a stylistic twist, or create a captivating visual effect, DaVinci Resolve provides all the necessary tools at your fingertips.
Don't forget to subscribe to our channel for more valuable DaVinci Resolve tutorials and tips! Happy editing!
Want to learn more about DaVinci Resolve and its powerful features? Check out our playlist dedicated to this incredible video editing software: [ • DaVinci Resolve 19 - Tutorial for Beg... ]
Смотрите видео Smooth Flow Mastering Keyframes in DaVinci Resolve онлайн, длительностью часов минут секунд в хорошем качестве, которое загружено на канал Chandan Computer Education 25 Июль 2023. Делитесь ссылкой на видео в социальных сетях, чтобы ваши подписчики и друзья так же посмотрели это видео. Данный видеоклип посмотрели 200 раз и оно понравилось 7 посетителям.