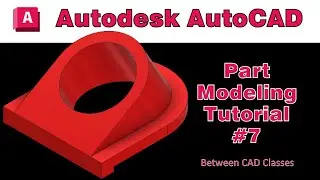
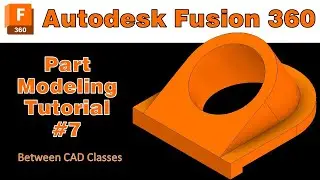
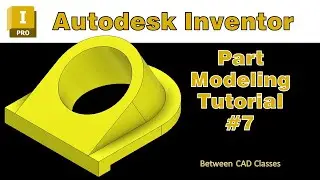
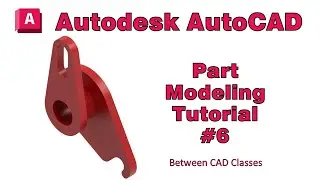
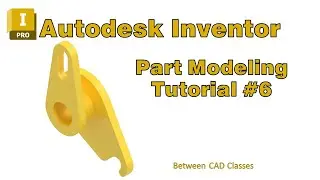
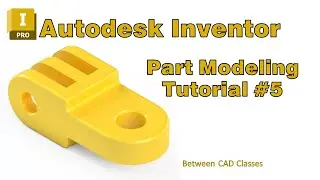
Autodesk Inventor Part Modeling Tutorial #2
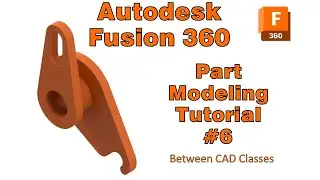
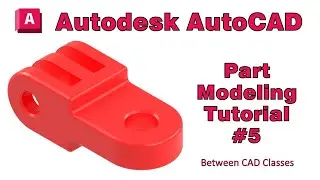
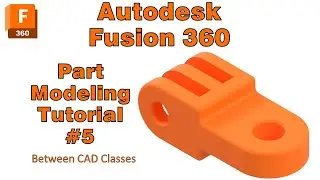
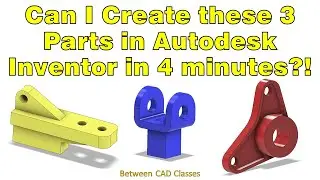
In this video I will take you through each step to create a 3D model of the part shown in Autodesk Inventor.
The following tools are used in this tutorial:
Extrude
Fillet
Hole
Chamfer
Each sketch is fully dimensioned and constrained before creating the features.
If you would like to try the exercise yourself, the detail drawing can be found on my website at https://betweencadclasses.wordpress.c...
Feel free to comment with a part that you would like to see me work through.
0:00 Intro
0:17 Workflow
0:53 Creating the base feature
2:52 Adding the fillet feature
3:14 Add the half-circle feature
4:44 Adding the hole
5:27 Adding the bottom extrusion
6:41 Adding the chamfer feature
Смотрите видео Autodesk Inventor Part Modeling Tutorial #2 онлайн, длительностью часов минут секунд в хорошем качестве, которое загружено на канал Between CAD Classes 26 Ноябрь 2022. Делитесь ссылкой на видео в социальных сетях, чтобы ваши подписчики и друзья так же посмотрели это видео. Данный видеоклип посмотрели 207 раз и оно понравилось 5 посетителям.