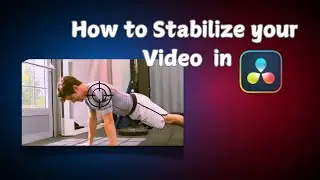
DaVinci Resolve Vertical Video Tutorial
How to Create Vertical Videos in DaVinci Resolve!!!
Follow the steps, and you’ll have your next YouTube Short or Instagram Reel ready to go.
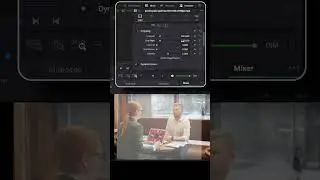
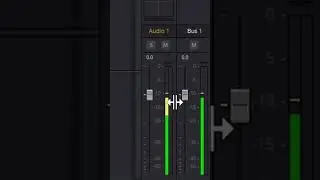
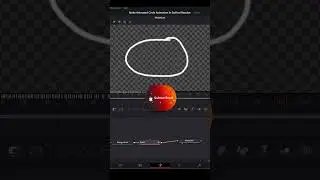
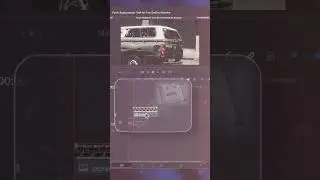
Step 1: - Modifying your timeline settings, on the Edit page, right-click on the timeline thumbnail in the Media Pool, then head to Timelines, Timeline Settings. Make sure Use Project Settings is unchecked, so you can make changes. Select Use Vertical Resolution and make sure the Mismatched Resolution is set to Scale Full Frame with Crop. Click Okay.
Step 2: - The most important thing to look out for here is making sure your subject fits the frame. Sometimes the subject is at the perfect distance for a landscape shot but may end up being too close for a vertical video. Additionally, keep an eye on your time if your plan is to upload the video to a social media platform. For example, YouTube Shorts will only accept a video under one minute long—in that case, every second counts.
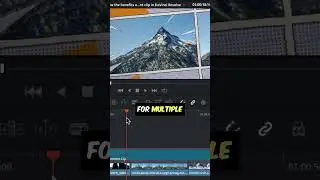
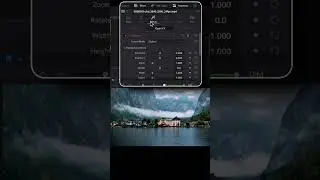
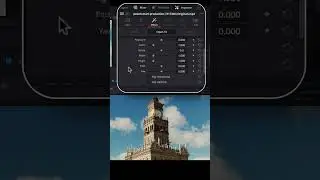
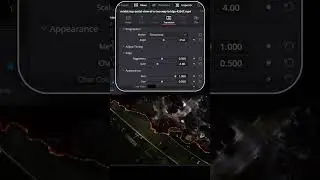
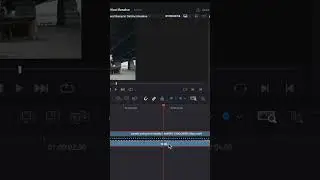
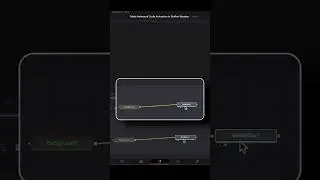
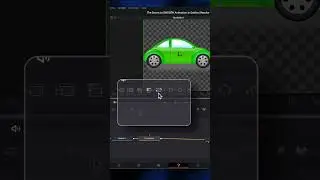
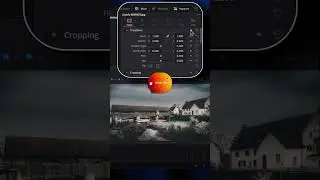
Step 3: - If your subject isn’t perfectly centered the whole time, you have the option of adjusting the video as it plays. You can either select the Transform icon in the bottom left-hand corner of the Preview Window and move the image around with your cursor. Or you can open the Inspector and play with the X and Y Positions under Transform.
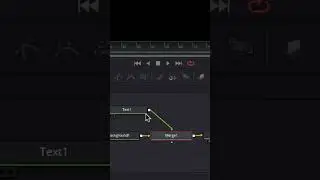
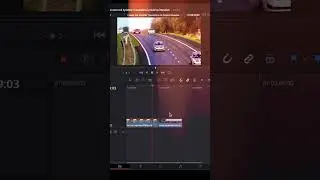
If you have to make an adjustment in a specific area within a single video, you’ll need to cut it, so your adjustments don’t alter the whole strip.
Happy Editing…
#videoediting #davinciresolve #tutorial #resolve
Watch video DaVinci Resolve Vertical Video Tutorial online, duration hours minute second in high quality that is uploaded to the channel Chandan Computer Education 02 December 2023. Share the link to the video on social media so that your subscribers and friends will also watch this video. This video clip has been viewed 355 times and liked it 7 visitors.