nRF5340 PDK firmware build and download using SEGGER Embedded Studio
This video demostrates building the firmware for the nRF5430 PDK using SEGGER Embedded Studio(SES).
We will take the following steps.
1. Start SES
2. Click the "Tool - Options..." menu
3. Click "nRF Connect" on the Options
Enter "GNU ARM Embedded Toolchain Directory" and "Zephyr Base"
4. Click the "File - Open nRF Connect SDK Project..." menu
5. Enter CMakeLists.txt, Board Directory, Board Name, Build Directory Path.
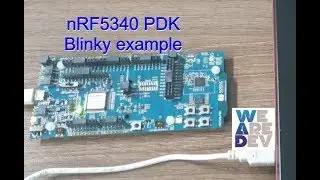
We use the blinky example from zephyr\samples\basic\blinky folder.
6. Enter the solution's options.
Click "Debugger" and "Target Device". Change "$(Target)" to "nRF5340_xxAA_APP".
7. Click the "Build - Rebuild Solution" menu
8. Click the "Debug - go " menu or Press Ctrl + F5 key.
The firmware is downloaded to nRF5340 PDK via J-link.
We can see that LED1 is blinking.
Please subscribe to our channel. Thank you.
Watch video nRF5340 PDK firmware build and download using SEGGER Embedded Studio online, duration hours minute second in high quality that is uploaded to the channel WeAreDev 24 February 2020. Share the link to the video on social media so that your subscribers and friends will also watch this video. This video clip has been viewed 1,925 times and liked it 10 visitors.