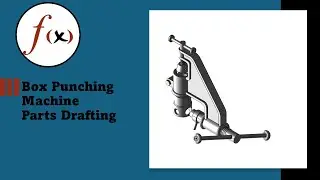
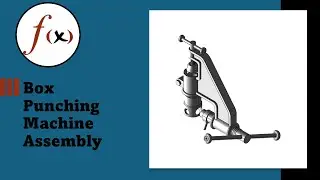
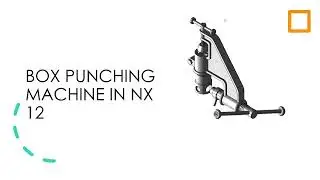
Box Punching Machine Assembly | Siemens NX 12 Tutorial
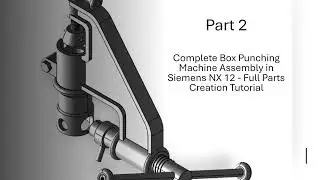
Welcome back to our Siemens NX 12 series! In this video, we take the parts we've created in previous tutorials and assemble the complete box punching machine. Follow along as we guide you through the step-by-step assembly process, ensuring each component fits perfectly.
In This Video:
00:00 - Introduction
00:52 - Correcting Previous Mistakes
06:24 - Step-by-Step Assembly of the Box Punching Machine
10:49 - Adding Datum CYS
12:00 - Adding Guide
15:30 - Adding the Body
18:44 - Adding Main Screw
22:03 - Adding Screw Pin
23:07 - Adding Handle
24:56 - Adding Handle Knobs
27:50 - Adding Bolt and Nut
29:53 - Adding Clamp Screw
32:14 - Adding Clamp Holder and Pin
38:51 - Adding Clamp Handle and Clamp Knob
42:09 - Adding Punch
43:19 - Final Adjustments and Overview
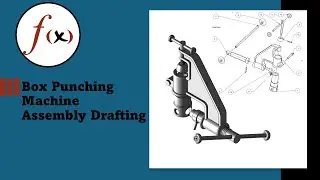
This video is perfect for both beginners and experienced users of Siemens NX 12 who are looking to enhance their assembly skills. Make sure to watch until the end for a sneak peek at our next tutorial, where we'll cover the drafting phase and create detailed technical drawings.
If you find this video helpful, please give it a thumbs up, leave a comment, and don’t forget to subscribe and hit the notification bell to stay updated with our latest videos.
Join Our Community:
Follow us on social media for updates, behind-the-scenes content, and more:
[Facebook](https://www.facebook.com/sfundo.mseza...)
[Twitter](https://x.com/leccionsfundo?s=11)
[Instagram](https://www.instagram.com/function_ma...)
Thank you for watching, and let’s continue building together!
Watch video Box Punching Machine Assembly | Siemens NX 12 Tutorial online, duration hours minute second in high quality that is uploaded to the channel Function Academy 23 May 2024. Share the link to the video on social media so that your subscribers and friends will also watch this video. This video clip has been viewed 832 times and liked it 25 visitors.